You just bought an Epson printer but don’t know how to install it? No matter which system you’re using, Window or Mac, you can find a step-by-step installation guide here. Read on to find how…
Before you start the installation, you need to connect your printer to your network so it can be monitored on the computer. Follow the steps in the manual book to set up your printer and connect to your network.
Go to the Epson official website, and choose to download and install the Windows version of Epson Connect Printer Setup Utility.
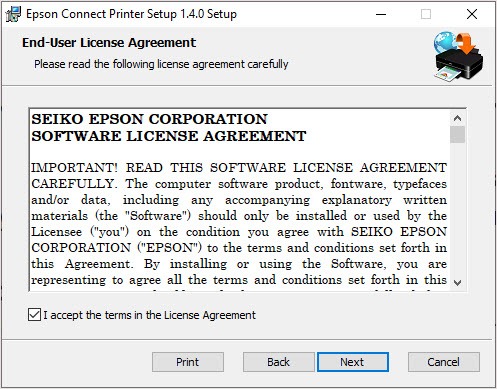
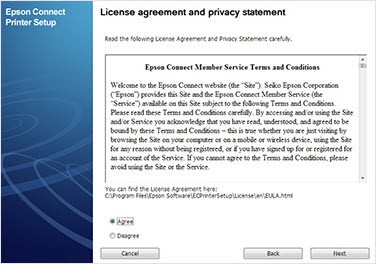
Tick the agreement and click Next.
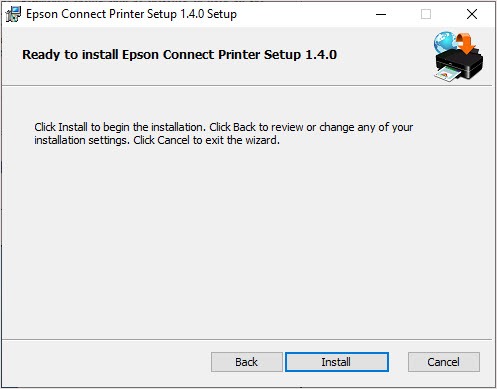
4. Click Install.
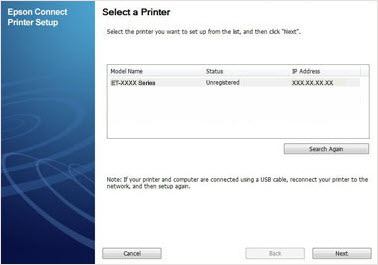
5. Select your product in the menu then click Next.
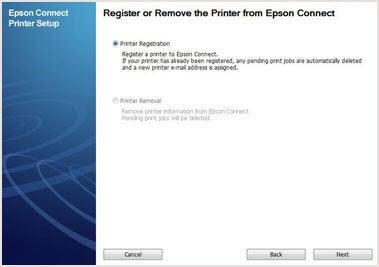
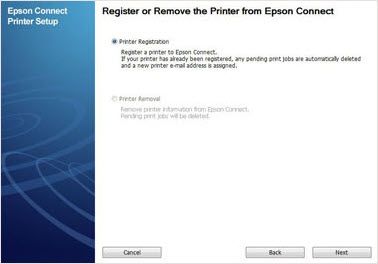
6. Select Printer Registration and click Next.
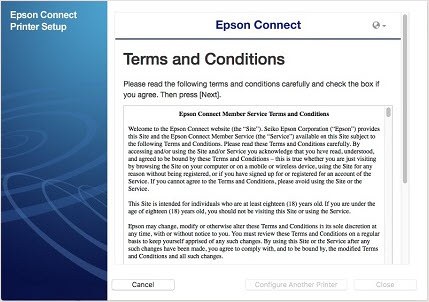
7. Click Agree > Next.
8. Click OK when you see Register a printer to Epson Connect.
9. You can create a new account or sign-up with an existing one.
10. Click Close.
Install Epson Printer for Mac
Turn on the printer.
Go to the Epson official website, and choose to download and install the Mac version of Epson Connect Printer Setup Utility.
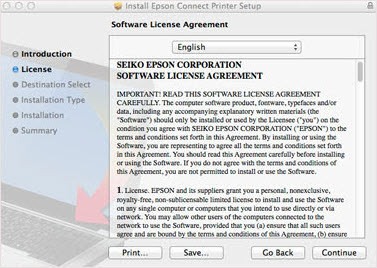
Click Continue.
Click Continue > Agree.
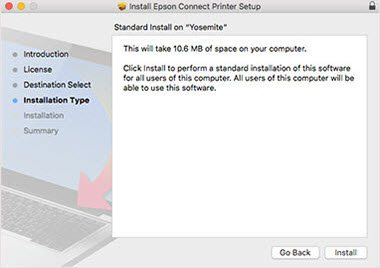
5. Click Install > Close.
6. Select your printer and click Next. Note: If there’s no window pop-up, you can install Epson Printer by open the Finder > Application > Epson Software > Epson Connect Printer Setup.
7. Choose Printer Registration then click Next > OK.
8. Scroll down the content and tick the I accept the Terms and Conditions checkbox, then click Next.
9. You can create a new account or sign-up with an existing one.